Pigna: tracing finished
Finished tracing all the characters today. (Remember, this is a throwaway font for learning purposes only, and I’m not releasing it when I’m done. I’ll do real typefaces after this.)
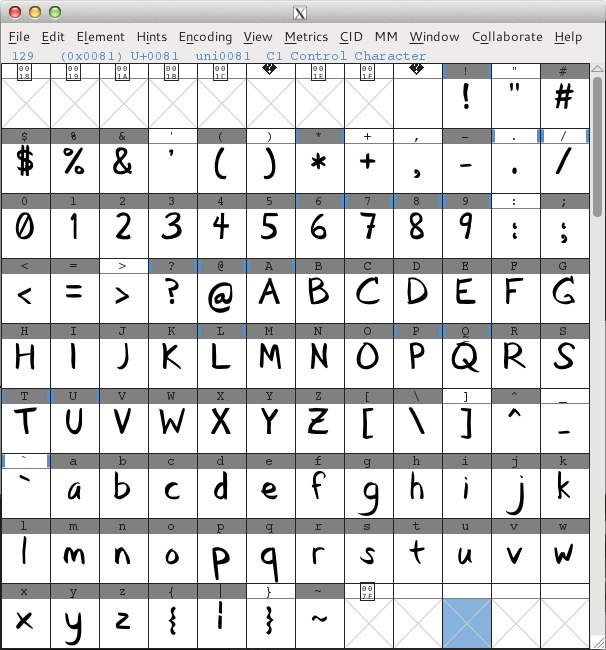
Whew. In spite of knowing this is a throwaway font, it still makes me giddy to see all the characters come to life like this. Two unexpected side effects from tracing: repetitive stress pain (mostly from adjusting control points) and now I mentally trace Bézier curves over everything I see in real life.
Spacing and kerning
I started doing spacing, using the ‘n’ and ‘o’ characters for lowercase and ‘H’ and ‘O’ for uppercase:

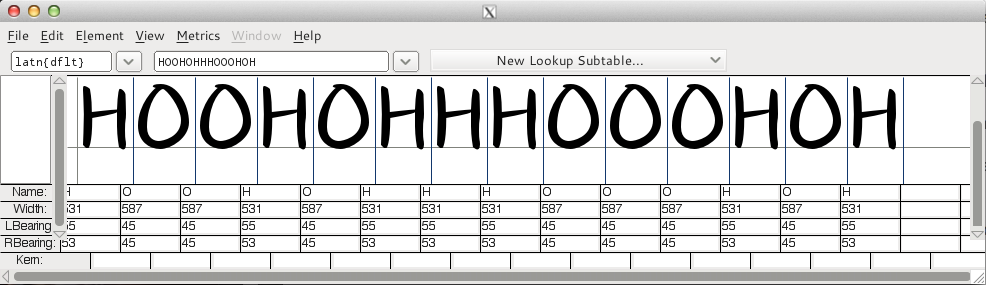
With the lines in between, it’s a little harder to tell if I’m spacing things well. I need to see if I can tweak the FontForge theme to make the lines a lot lighter. I also need to take the exported font and do these spacing strings, both on screen and in print, which will help.
I got a little ahead of myself and started doing kerning, too:
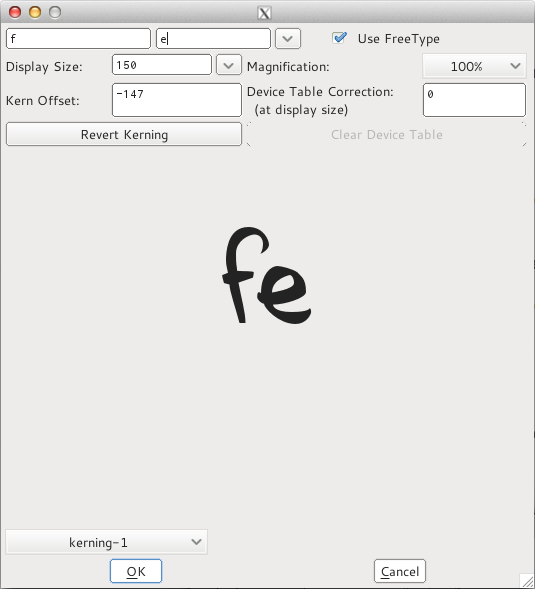
I did ‘T’ (‘Ta’, ‘Tb’, ‘Tc’, etc.) and ‘f’. When I do a real font I’ll use kerning classes to start, since it saves a ton of time, but for this font I wanted to do it manually. I suspect I’ve kerned a lot of these pairs too tightly.
More test sheets
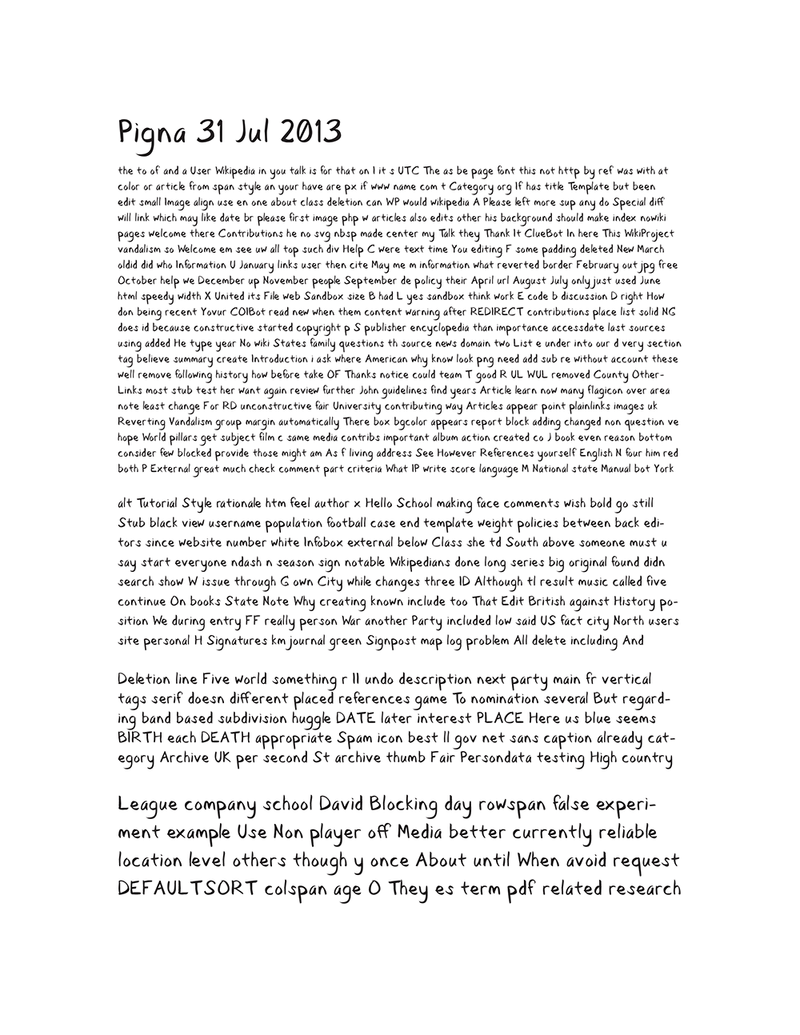
Now that I have a complete character set, I put together another test sheet, this time using text from LibreText:
And a Tom Sawyer test sheet, since almost all of my interest in type design is in designing typefaces for books (though I would never use a font like this for body copy in a book):
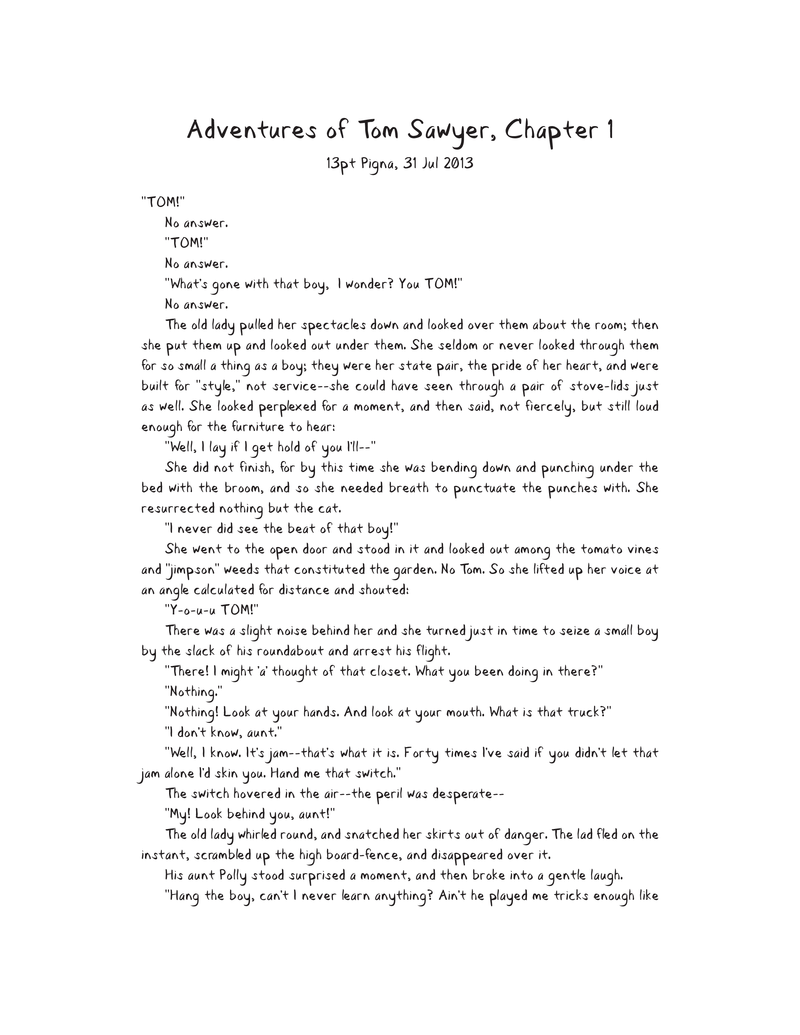
When I made this sheet, I realized I don’t have a complete character set yet. I still need an em dash, an en dash, and curly quotes (single and double). And I think I’ll add oldstyle numerals as well.
Ligatures
I learned how to make ligatures like ‘fi’ and ‘ffi’, which you can see in a few places in the first test sheet. Here’s the process:
- Go to the glyph for the ligature. (Click
View->Gotoand type in the name of the ligature,f_iin this case.) - Rename the glyph. (In the glyph window, click
Element->Glyph Infoand change the name tof_i— you can do it without the underscore, but Adobe’s standard is to use it, so I’m going to. Double-click on the glyph to open a window for it.) - Import the component parts. (Click
Element->Build->Build Composite Glyph. The component parts are ‘f’ and ‘i’.) - Move the glyphs where you want them.
- Turn the imported glyphs into live paths. (Click
Edit->Unlink Reference.) - Adjust the glyphs as necessary — joining paths, adding points at extrema, removing overlap, etc. Change the right bearing, too, to be whatever the right bearing is for the last component character in the ligature (‘i’ in this case).
- Create a lookup table. (This only needs to be done once. For future ligatures, open this lookup table and skip to step 8.)
- Click
Element->Font Infoand, in theLookupspane, click theAdd Lookupbutton. - In the
Typedropdown at the top, chooseLigature Substitution. - Under
Featurein the table, typeligaor chooseStandard Ligatures. The script/language defaults are fine. ClickOK.
- Click
- Add a subtable. (Click
Add Subtableand clickOKfor the default name.) - Link the ligated glyph to the input characters that trigger it. (In the subtable dialog, put
f_iunderLigature Glyph Nameandf iunderSource Glyph Names. ClickOK.)
In the metrics window, you can test it. If it’s not working, you may need to activate the liga feature in the list at the left of the window. Voila! Ligatures. Mmm.
Oh, I also threw together a new dummy font file and learned how to do contextual chain substitutions and other cool OpenType stuff. (Specifically, I hooked it up so if I have two ‘o’ characters in a row, the second one gets replaced with an alternate ‘o’.)
It’s official: I’m hooked. Type design is really, really addicting.