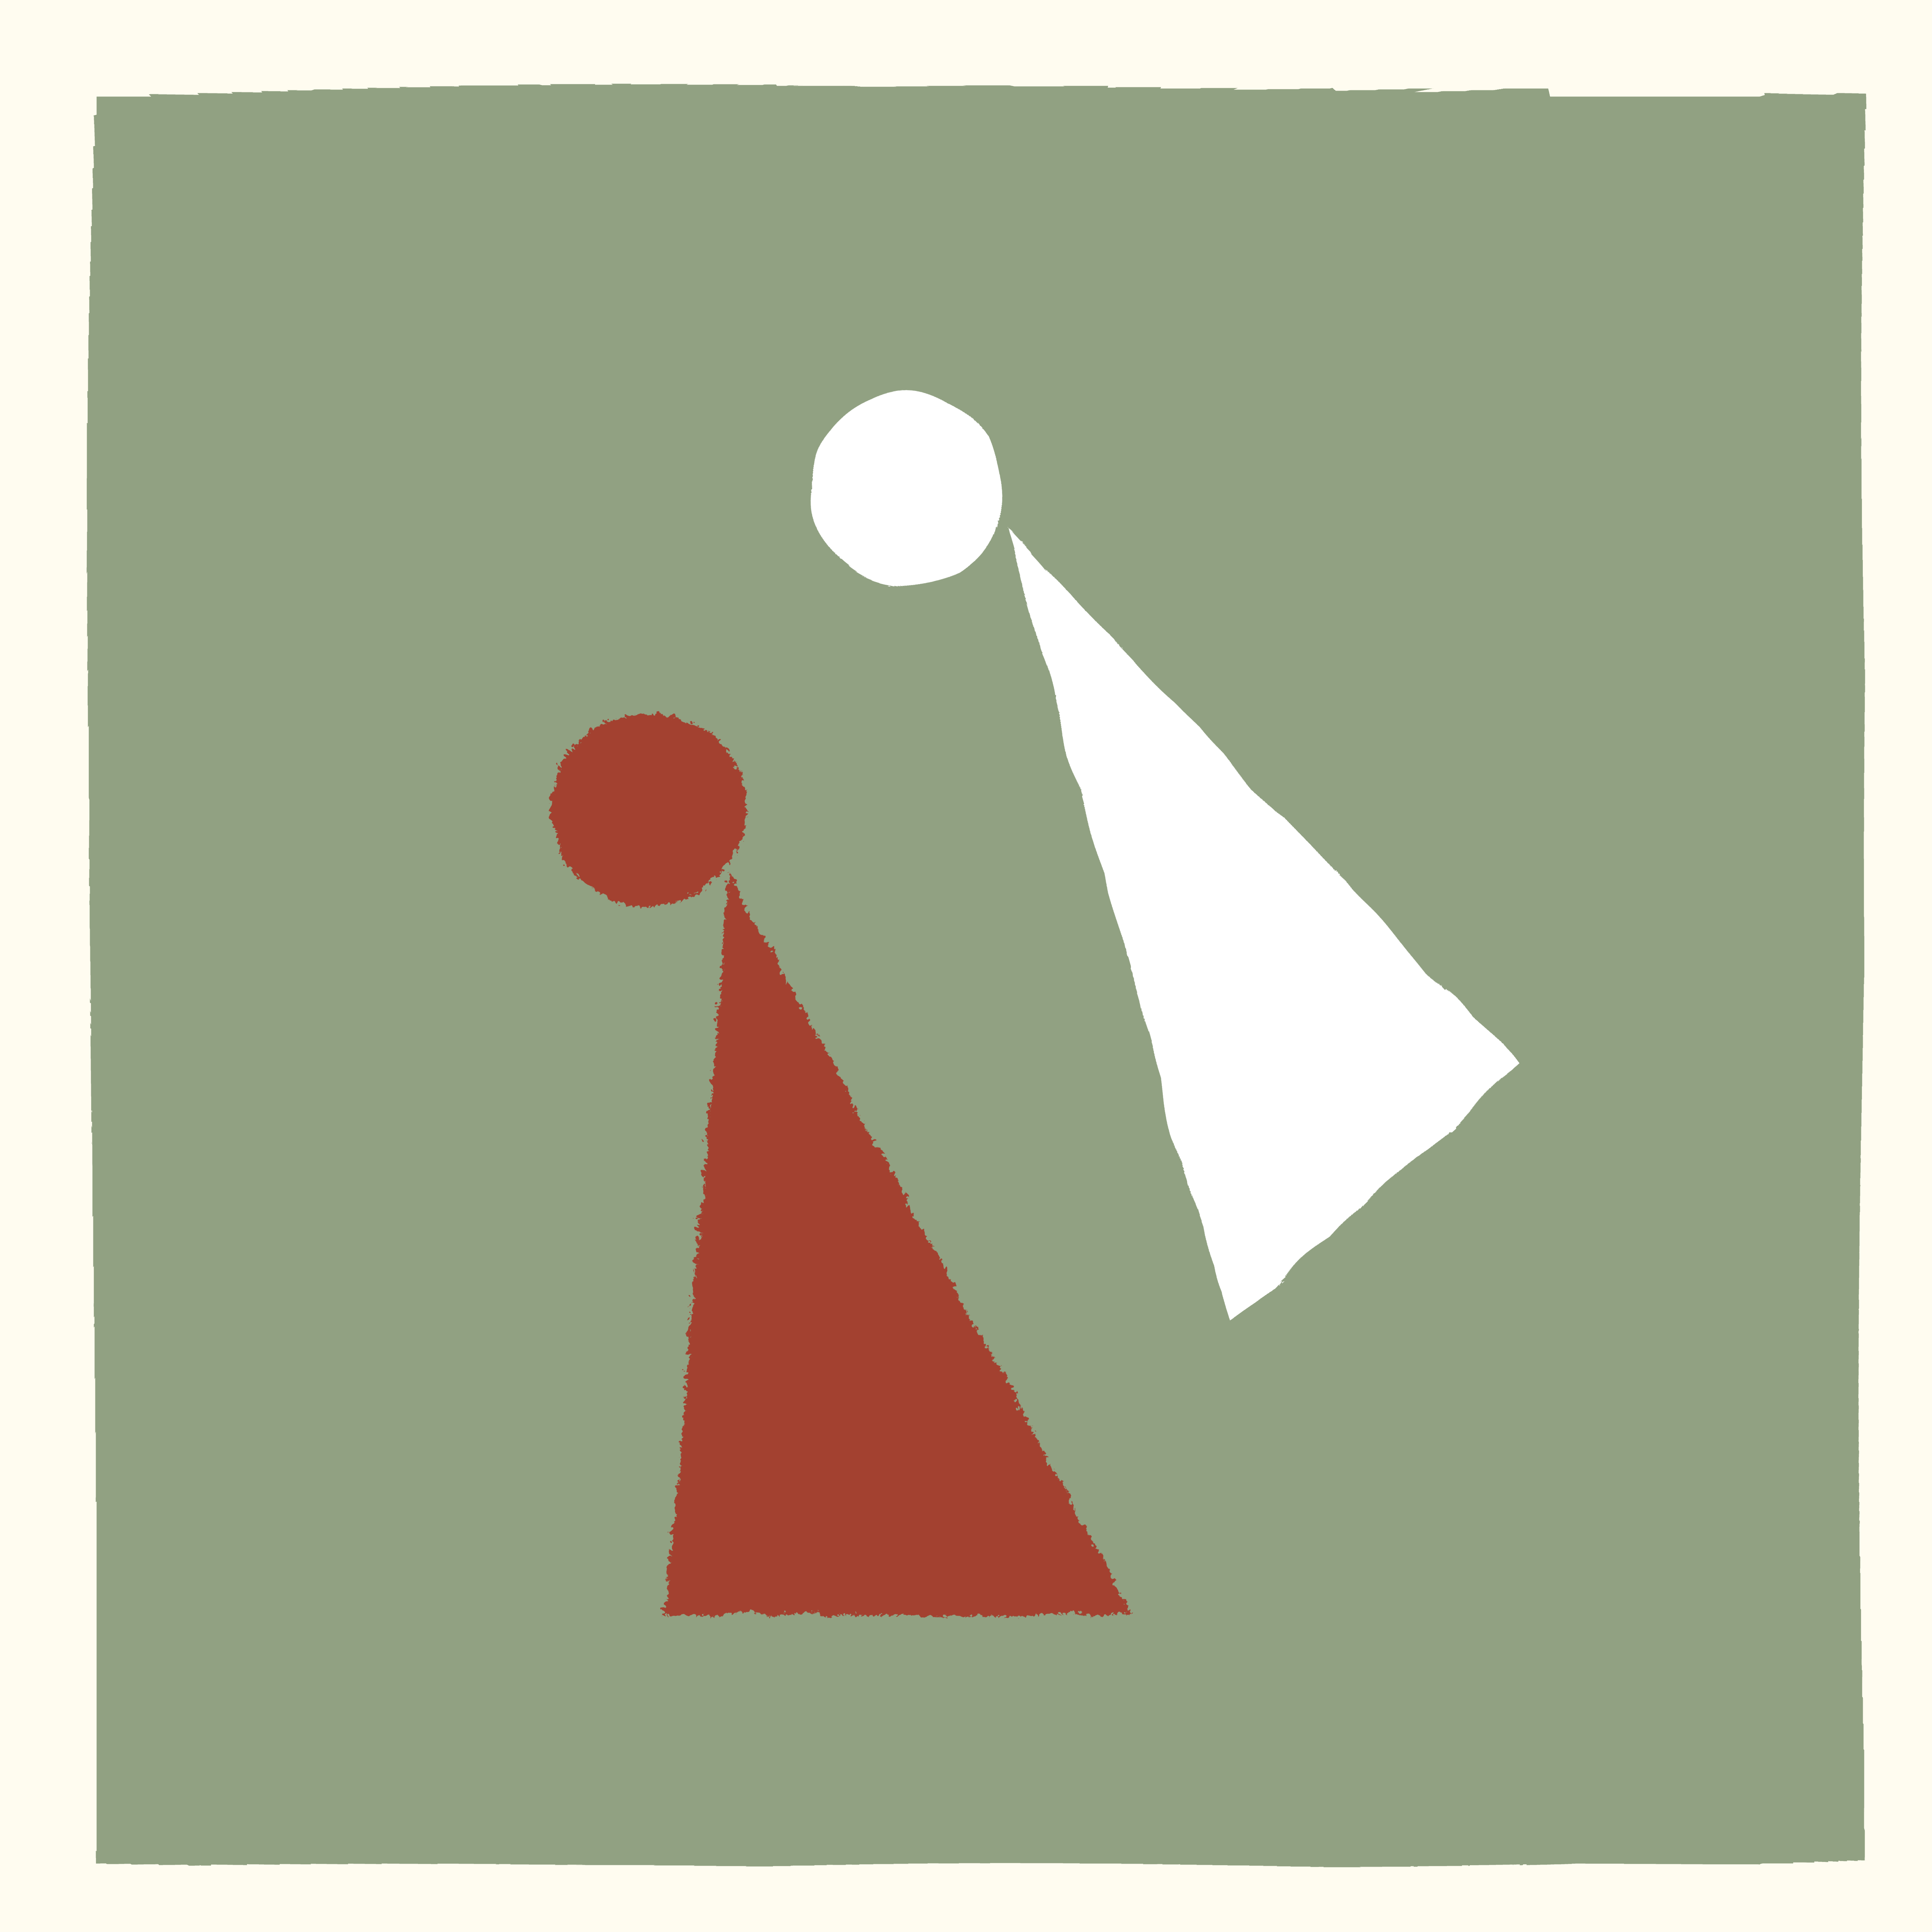
Some WIP experimentation with art.
Brief backstory: when I’m doing my minimalist religious art, I usually sketch an idea out first by hand or in Paper on my phone, then mock them up in Illustrator to iterate on the concept. Once it’s satisfactory, I move to execution, either painting the piece in Procreate or using some of the brushes in Illustrator to get a more organic look. And finally I texture the image in Photoshop.
A couple months ago I got interested in exploring alternatives to Illustrator and Photoshop for both execution and texturing processes. And me being me, I wanted to try doing it in code, just to see what it was like. (Some things are easier in code, though I don’t know how often that would actually be the case with these.)
Note: this is still very much a WIP, and who knows if I’ll end up using any of it or not. But here’s the current state of things.
SVG
After reading somewhere that SVG has turbulence and displacement filters, I realized I could potentially use those for the execution part of the process, to distress the edges enough to make things more interesting. (And hopefully to be less repetitious than the Illustrator brushes I use.)
I put together an initial test using a few different settings, and it turned out a bit better than I expected. A sample of the code:
<filter id="person1Filter">
    <feTurbulence type="turbulence" baseFrequency="0.5" numOctaves="2" result="turb1" />
    <feDisplacementMap in2="turb1" in="SourceGraphic" scale="3" xChannelSelector="R" yChannelSelector="G" result="result1" />
    <feTurbulence type="turbulence" baseFrequency="0.05" numOctaves="2" result="turb2" />
    <feDisplacementMap in2="turb2" in="result1" scale="3" xChannelSelector="R" yChannelSelector="G" />
</filter>

<style type="text/css">
    .person1 {
        fill: #a34130;
        filter: url(#person1Filter);
    }
</style>

<g id="person-1">
    <circle class="person1" cx="200" cy="250" r="30" />
    <polygon class="person1" points="225,270 205,500 350,500" />
</g>
And this is what it looks like:

The background rectangle, the red figure, and the white figure all have different turbulence and displacement values. The red figure uses two sets of turbulence and displacement filters, which worked out fairly well, I think.
I used Inkscape render it out to a high-res PNG, since Illustrator wasn’t able to handle the filters. Eventually, if I keep going down this path, I’d hopefully be able to find a command-line tool that can do the rendering. (Maybe Inkscape has a headless option.)
Overall, this path seems promising. I don’t know that I’d use it all the time, but for certain things it may be handy. I still need to look into sane ways to round corners, and it seems that the other filters (dilation/erosion, convolution, etc.) may be helpful, too.
Grain
I’ve begun writing a Python script called Grain for texturing the final art image. The goal here is to see if I can streamline the process at all, and to see if this idea even works. Grain takes as input a text-based input file that looks like this:
:image test1-texture.jpg
:blend screen
:opacity 0.05
:x -100

:image textures#random
:blend soft-light
:opacity 0.1

:pattern roughdots
:blend soft-light
:opacity 0.2

:image textures#2019-05-21 17.28.14.jpg
:blend soft-light
:opacity 0.01

:image test1-base.png
Each block is a layer. Grain starts with the bottom layer (the executed base image) and goes up from there, adding each layer on top with the specified blending mode and opacity.
The :pattern roughdots command would generate procedural dots (not implemented yet), and the textures# bit in the :image command calls is a shortcut to my folder with texture photos.
So far, the results are disappointing. While the layering does currently work, it isn’t yet producing anything remotely publishable. I think there might be some discrepancies between blending modes in pyvips and in Photoshop. Hard to tell.
And, less importantly, it’s a little slow — partially from using high-res images, partially from Python. If the idea ends up working, I’ll most likely port this to Rust or Go, and probably also have scale things down for the exploration phase of texturing (with a final high-res export at the end).
I’ll keep tinkering with it from time to time and we’ll see how it goes.