Scanning journals
I’ve recently begun scanning my journals using my iPhone and the Scanner Pro app, and it’s working out fairly well. My process:
- Using the built-in iPhone camera app, I long press to lock focus and exposure (this saves time so it doesn’t have to autofocus each time), then photograph each page of the journal. It’s not as high quality as it would be if I used an actual scanner, but it’s much, much faster, and far more portable.
- After I’m done photographing, I open Scanner Pro and select the images from the camera roll, then use the Black & White Document setting to process them into a PDF.
- From Scanner Pro, I export the PDF to Dropbox.
The resulting PDF is nice and clean and easy to read, and the files aren’t too big (150 pages is usually between 80 and 200 megs — for me, very much worth the space to preserve important documents).
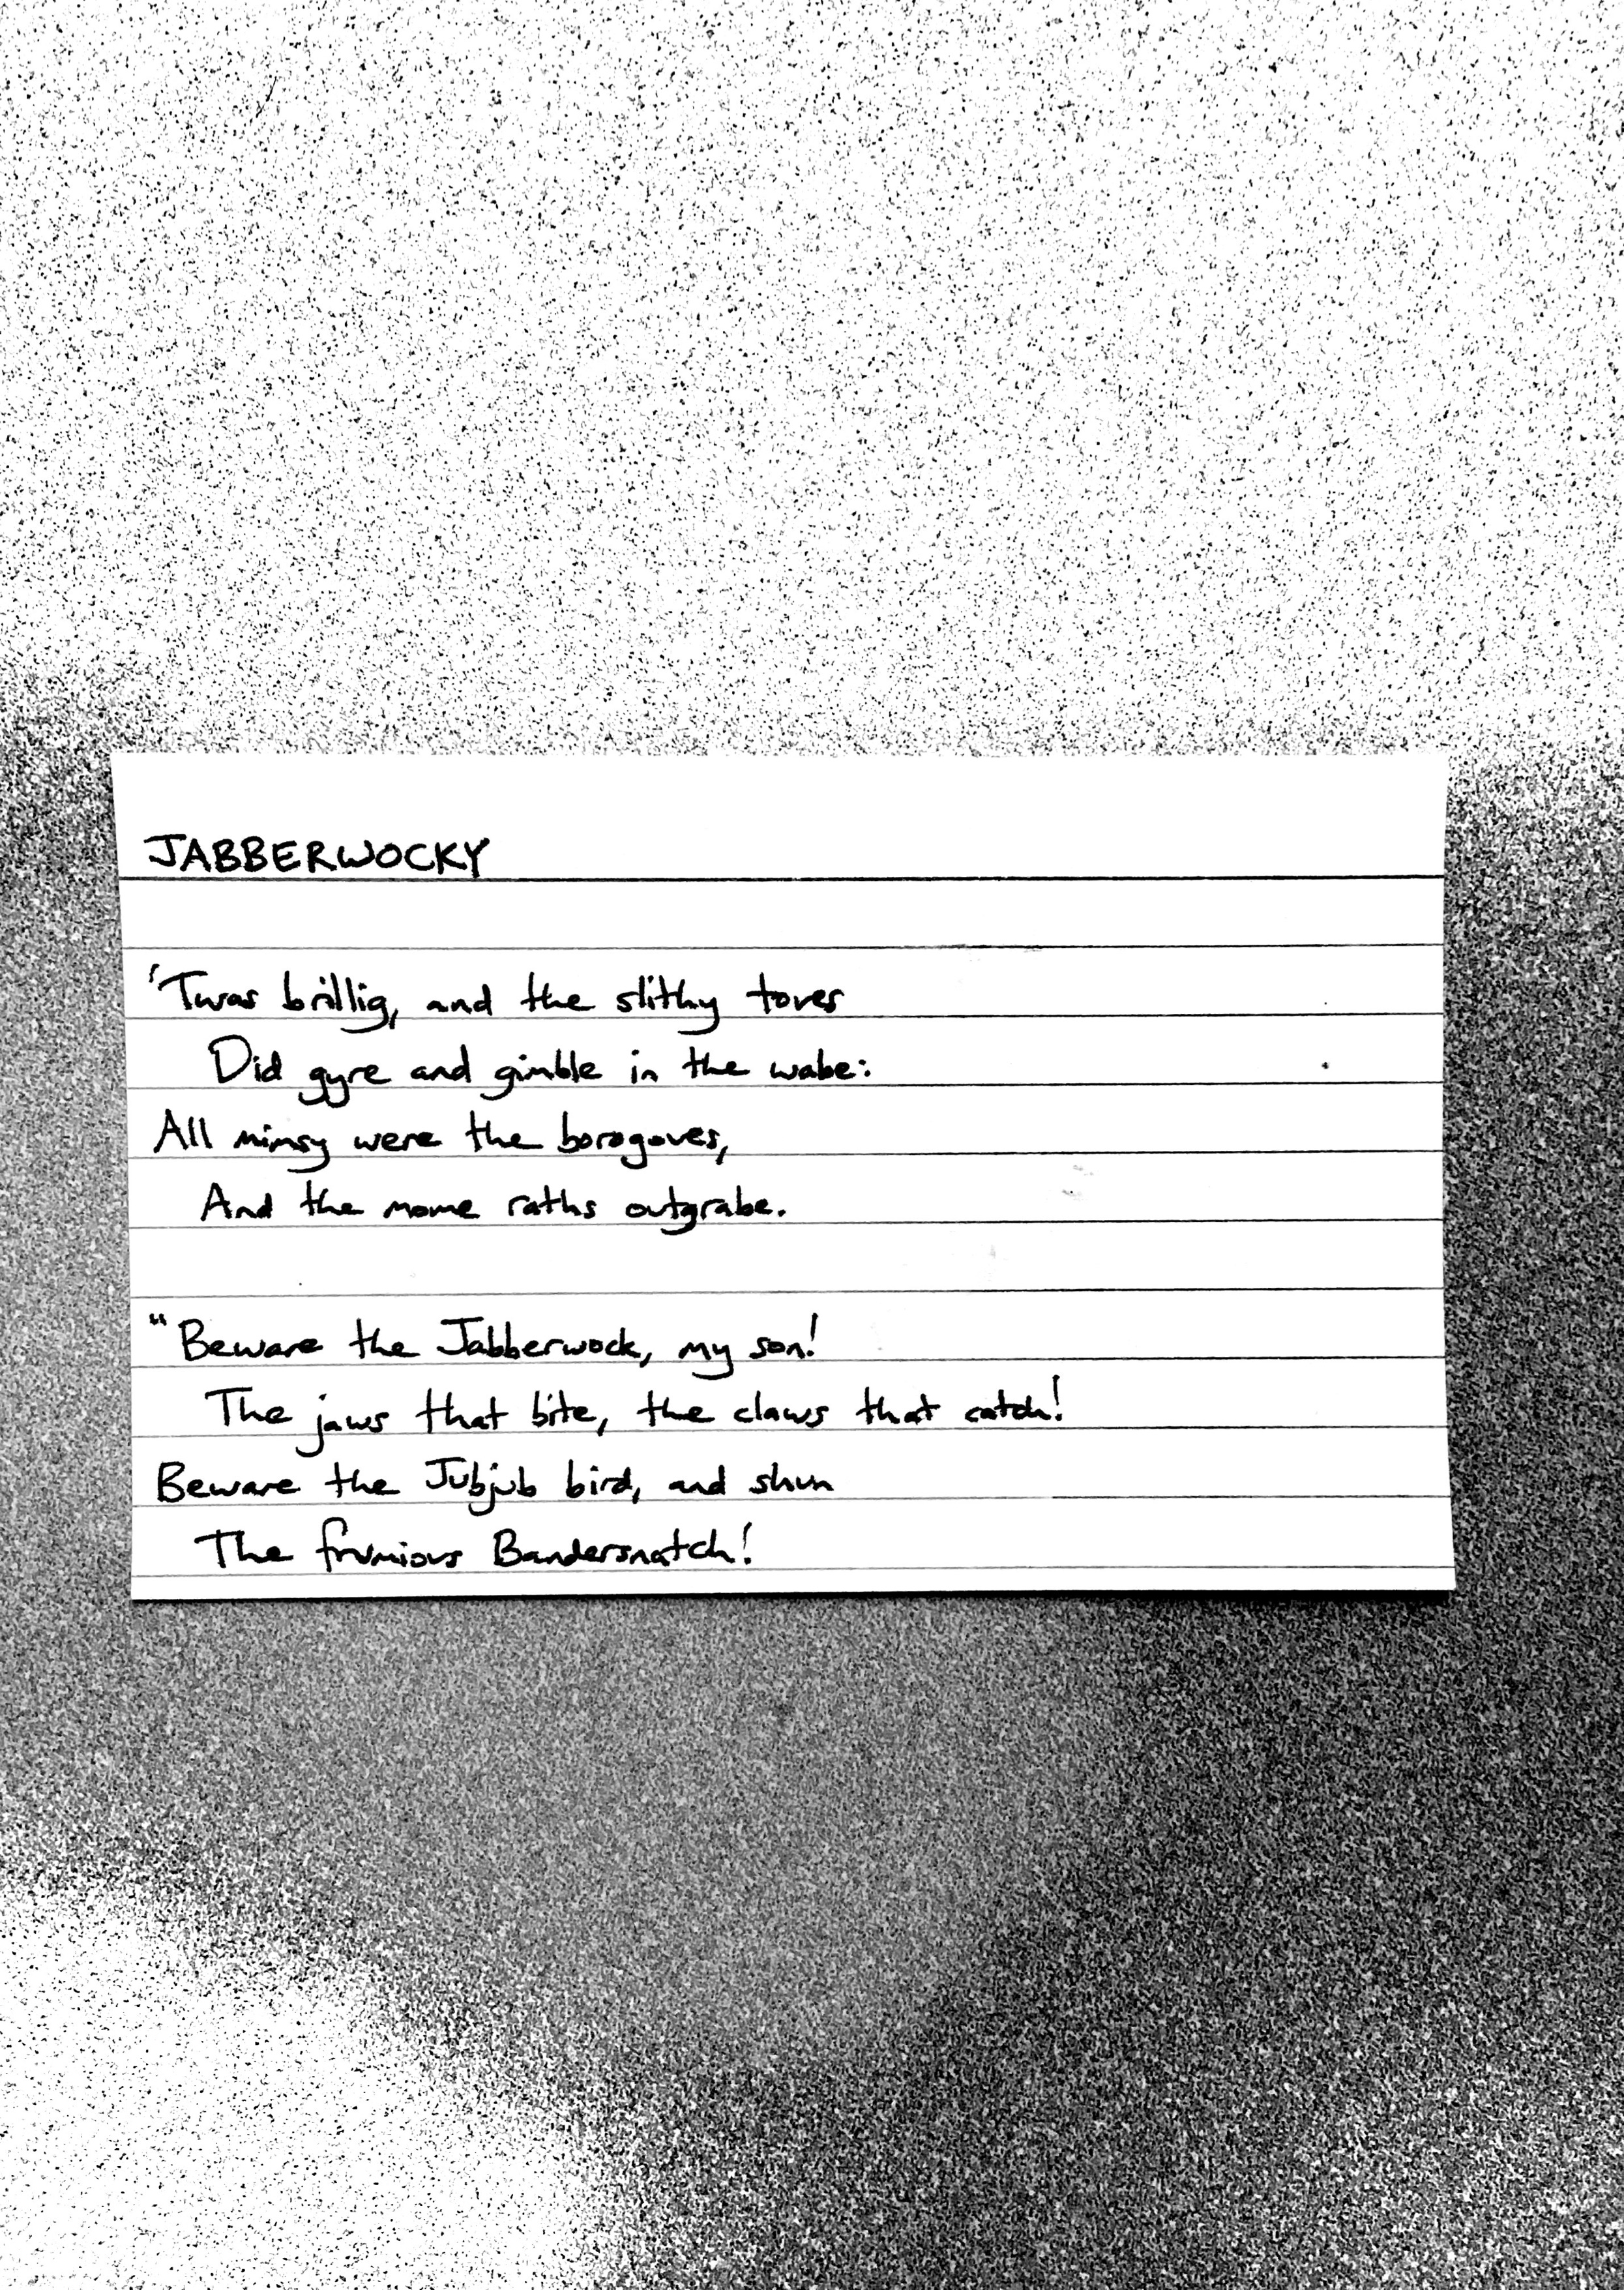
A concocted example:

That’s before (the image is straight from my iPhone camera, no postprocessing), and this is after Scanner Pro is done with it:

I should add that ordinarily, with actual journals there wouldn’t be as much empty border around the content.
One hitch I’ve run into is that Scanner Pro chokes on anything larger than around 150 pages (it crashes), so I do long journals in chunks.
For that reason and a few other small annoyances, I’ve been looking into replacing Scanner Pro with a desktop-based script that takes a list of photos and processes them into a nice black and white PDF. Imagemagick gets me part of the way there with this command:
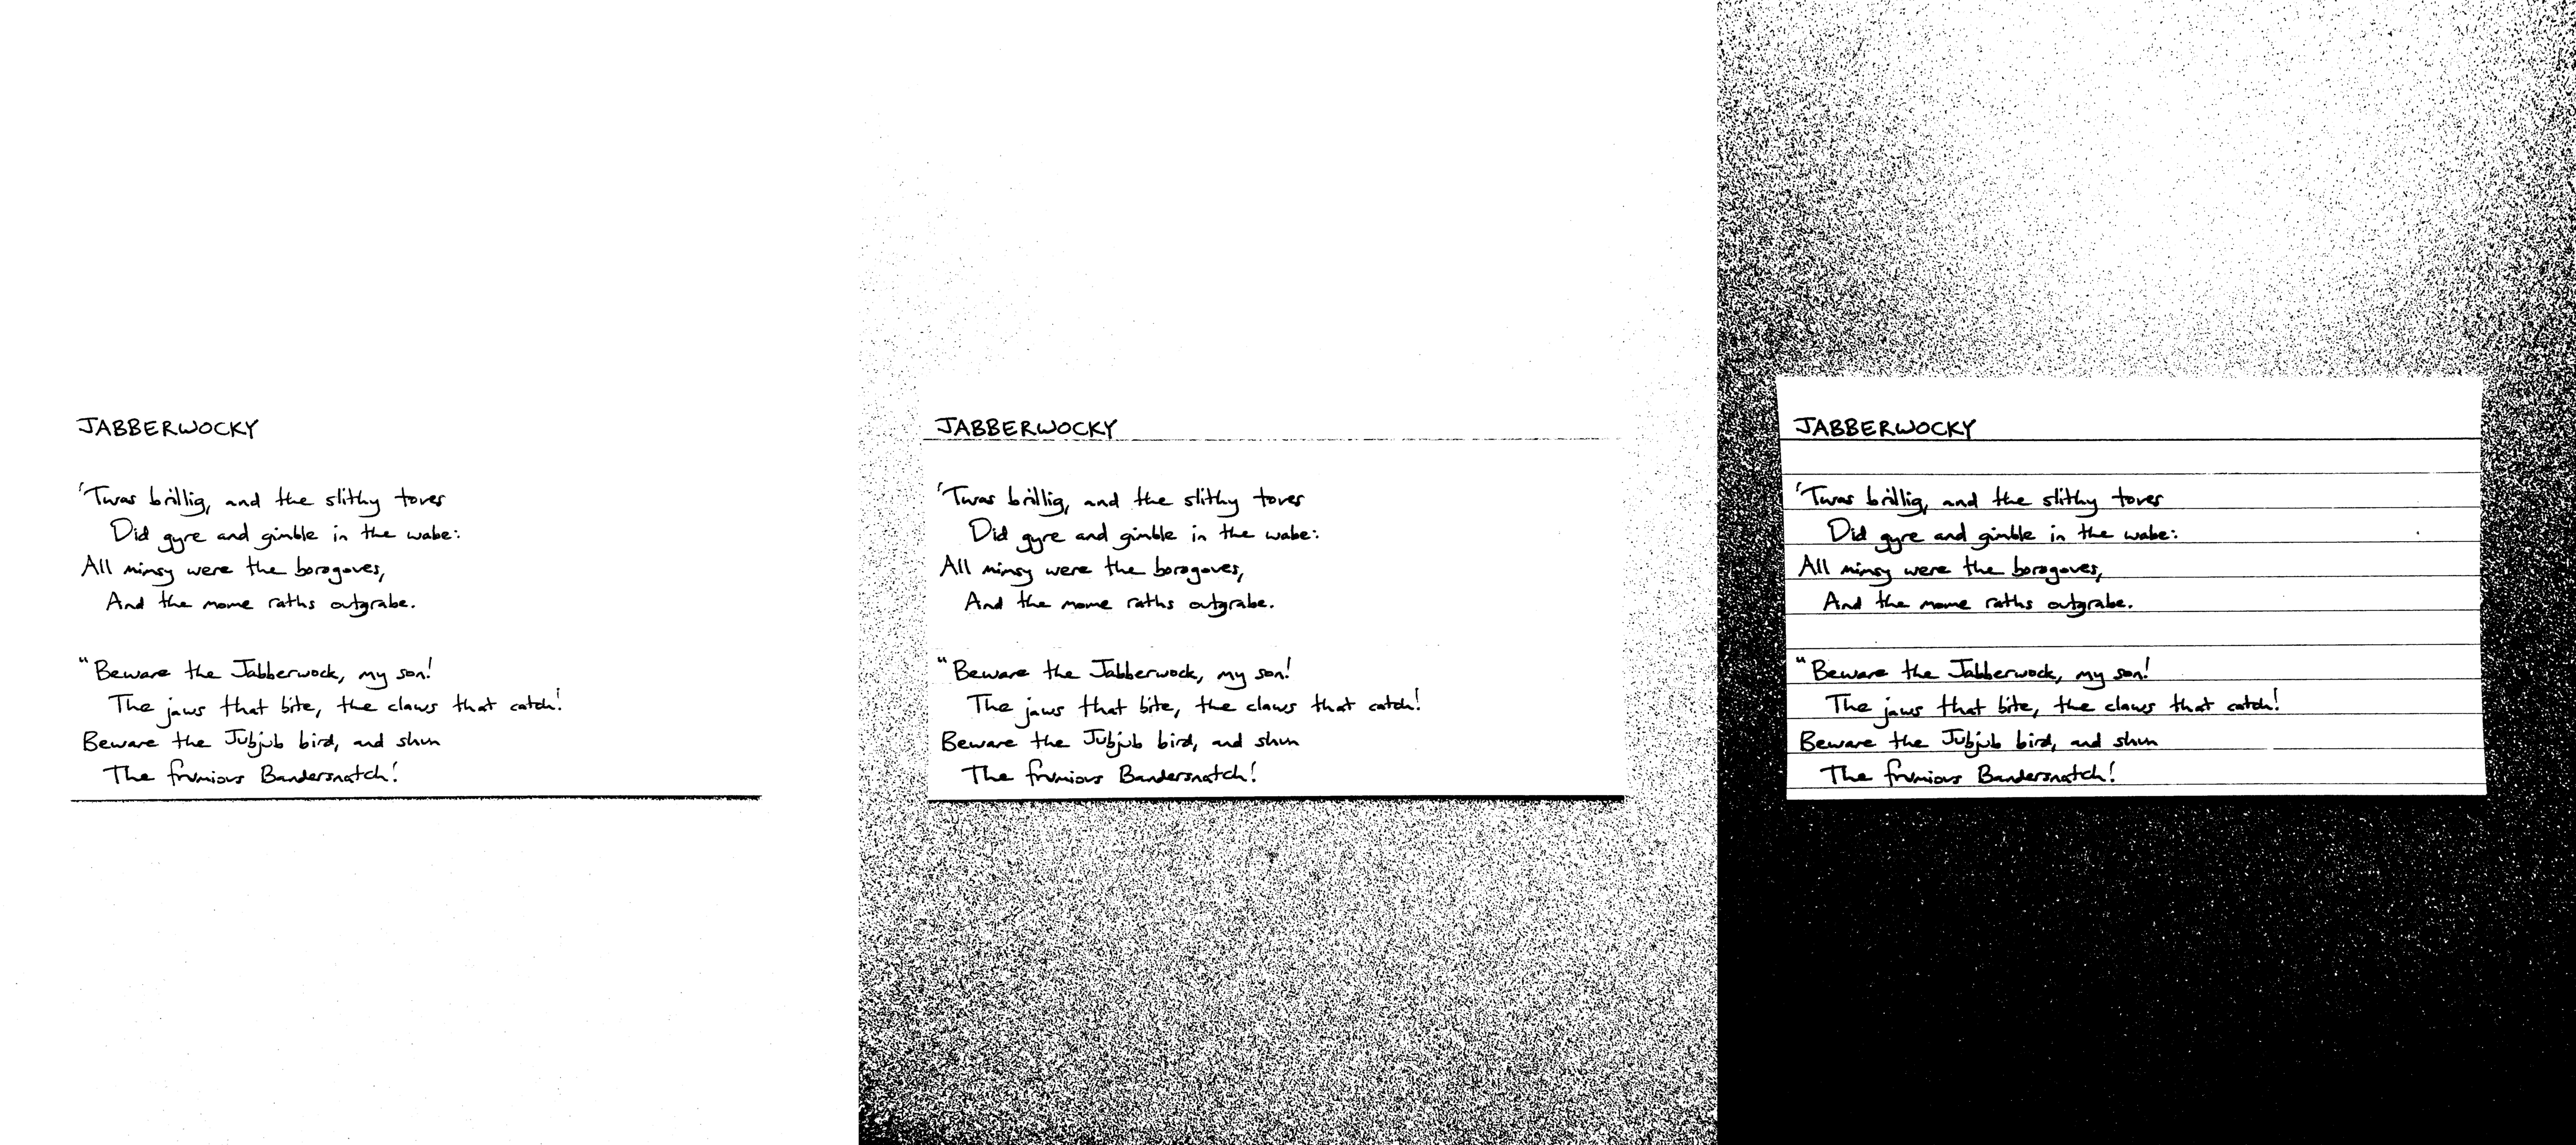
convert input.jpg -threshold 50% -blur 1x1 output.jpg
Here’s what it looks like for the above note card scan, at 30%, 50%, and 70% threshold, respectively:

At some point I’ll try writing a Python script that dynamically evaluates each page and adjusts the threshold as necessary to get the best result. Until then, though, I’m still using Scanner Pro.