New artwork: Within the Walls of Your Own Homes.
I realized (this is the very small breakthrough I mentioned yesterday) that I could use Blender to add 3D texture to my pieces. Verisimilitude has been the goal all along, and using an actual 3D renderer brings so much to the table that it boggles my mind that I didn’t think of this much earlier.
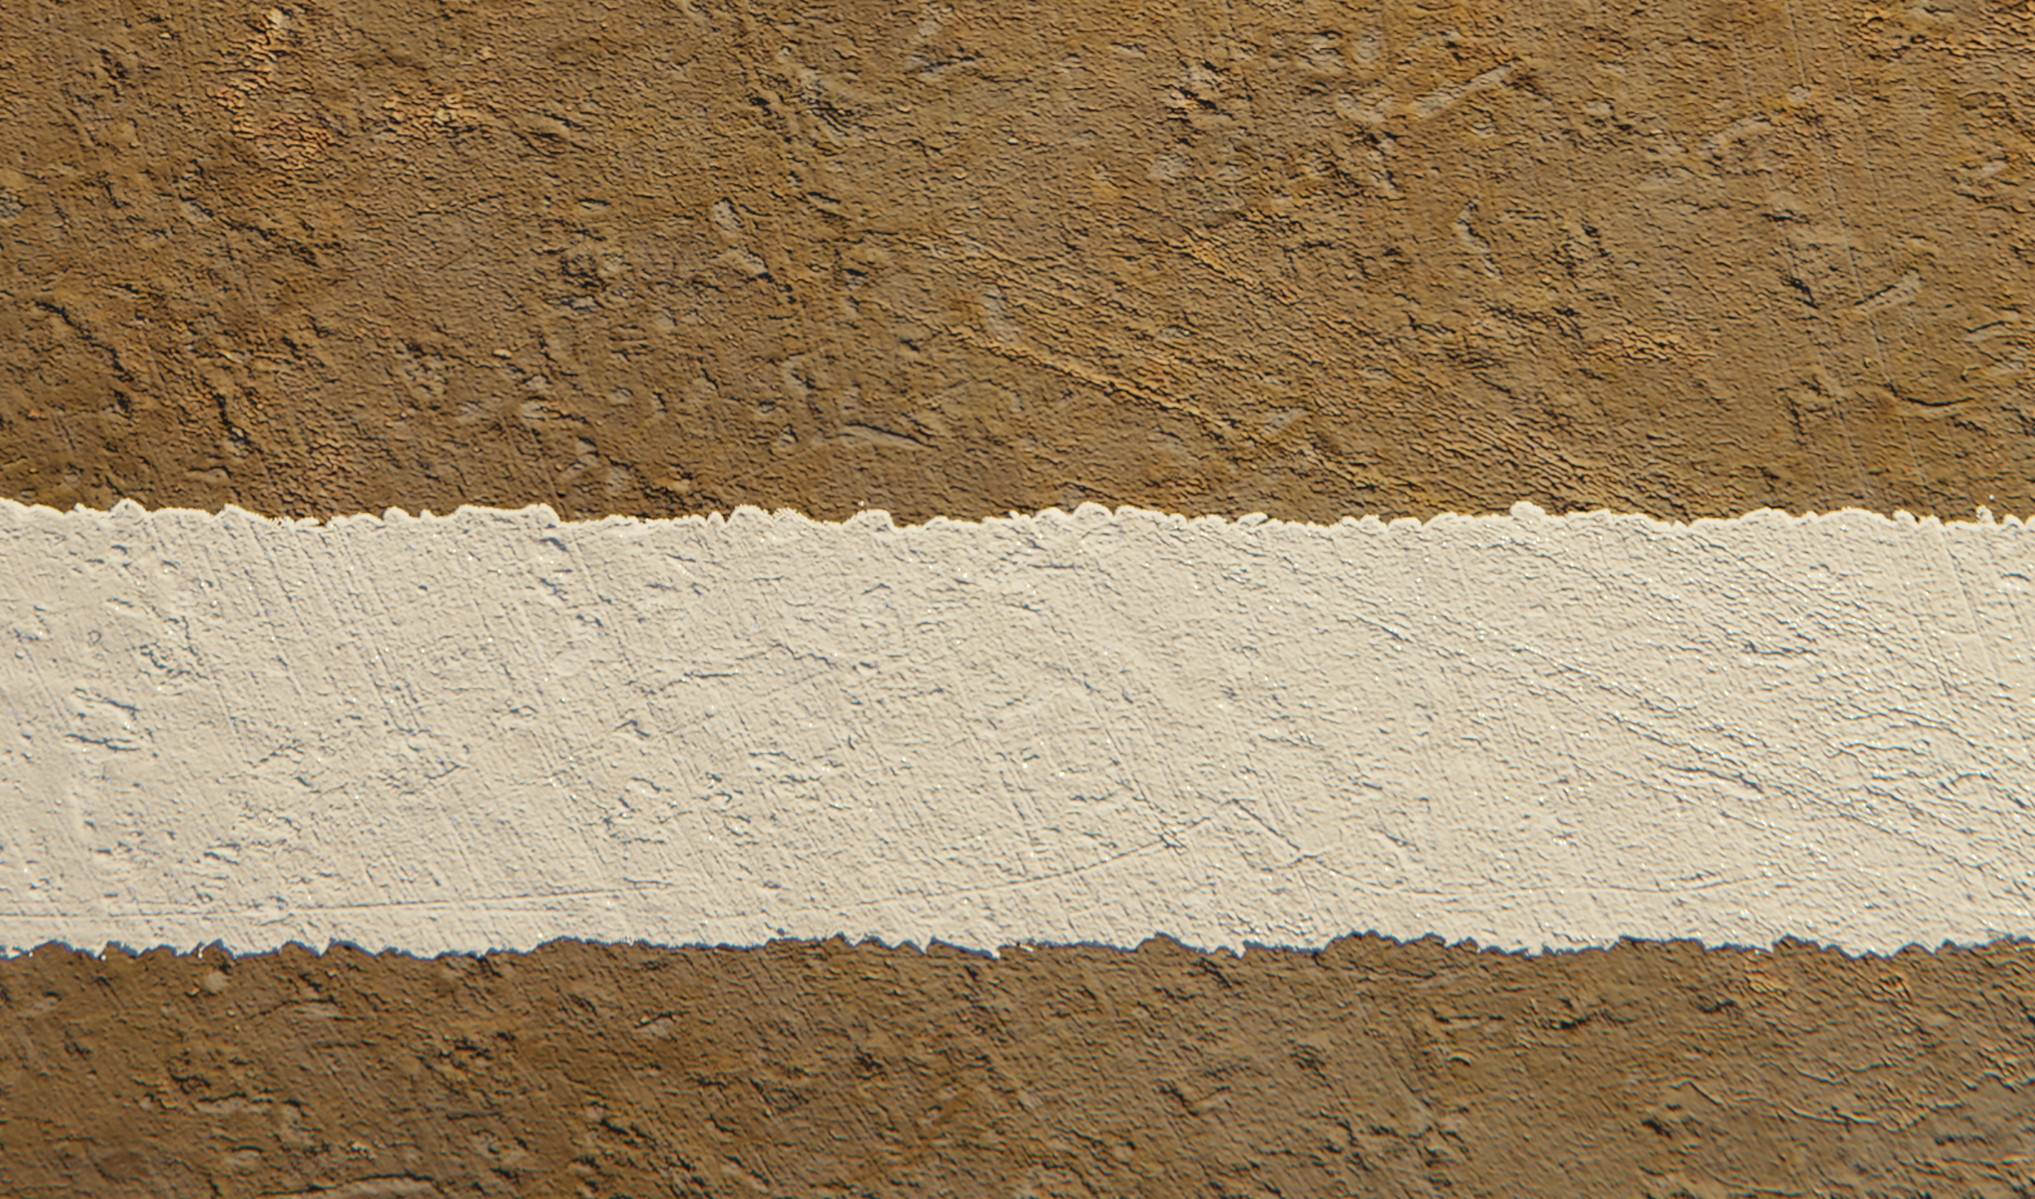
A closeup of the texture:
How I made this piece: I mocked it up in Illustrator, then exported it to SVG where I manually added the turbulence and displacement filters (in Vim) to distress the edges of the white square, which you can see in that closeup. I used Inkscape to export the SVG to a 6500×6500 PNG.
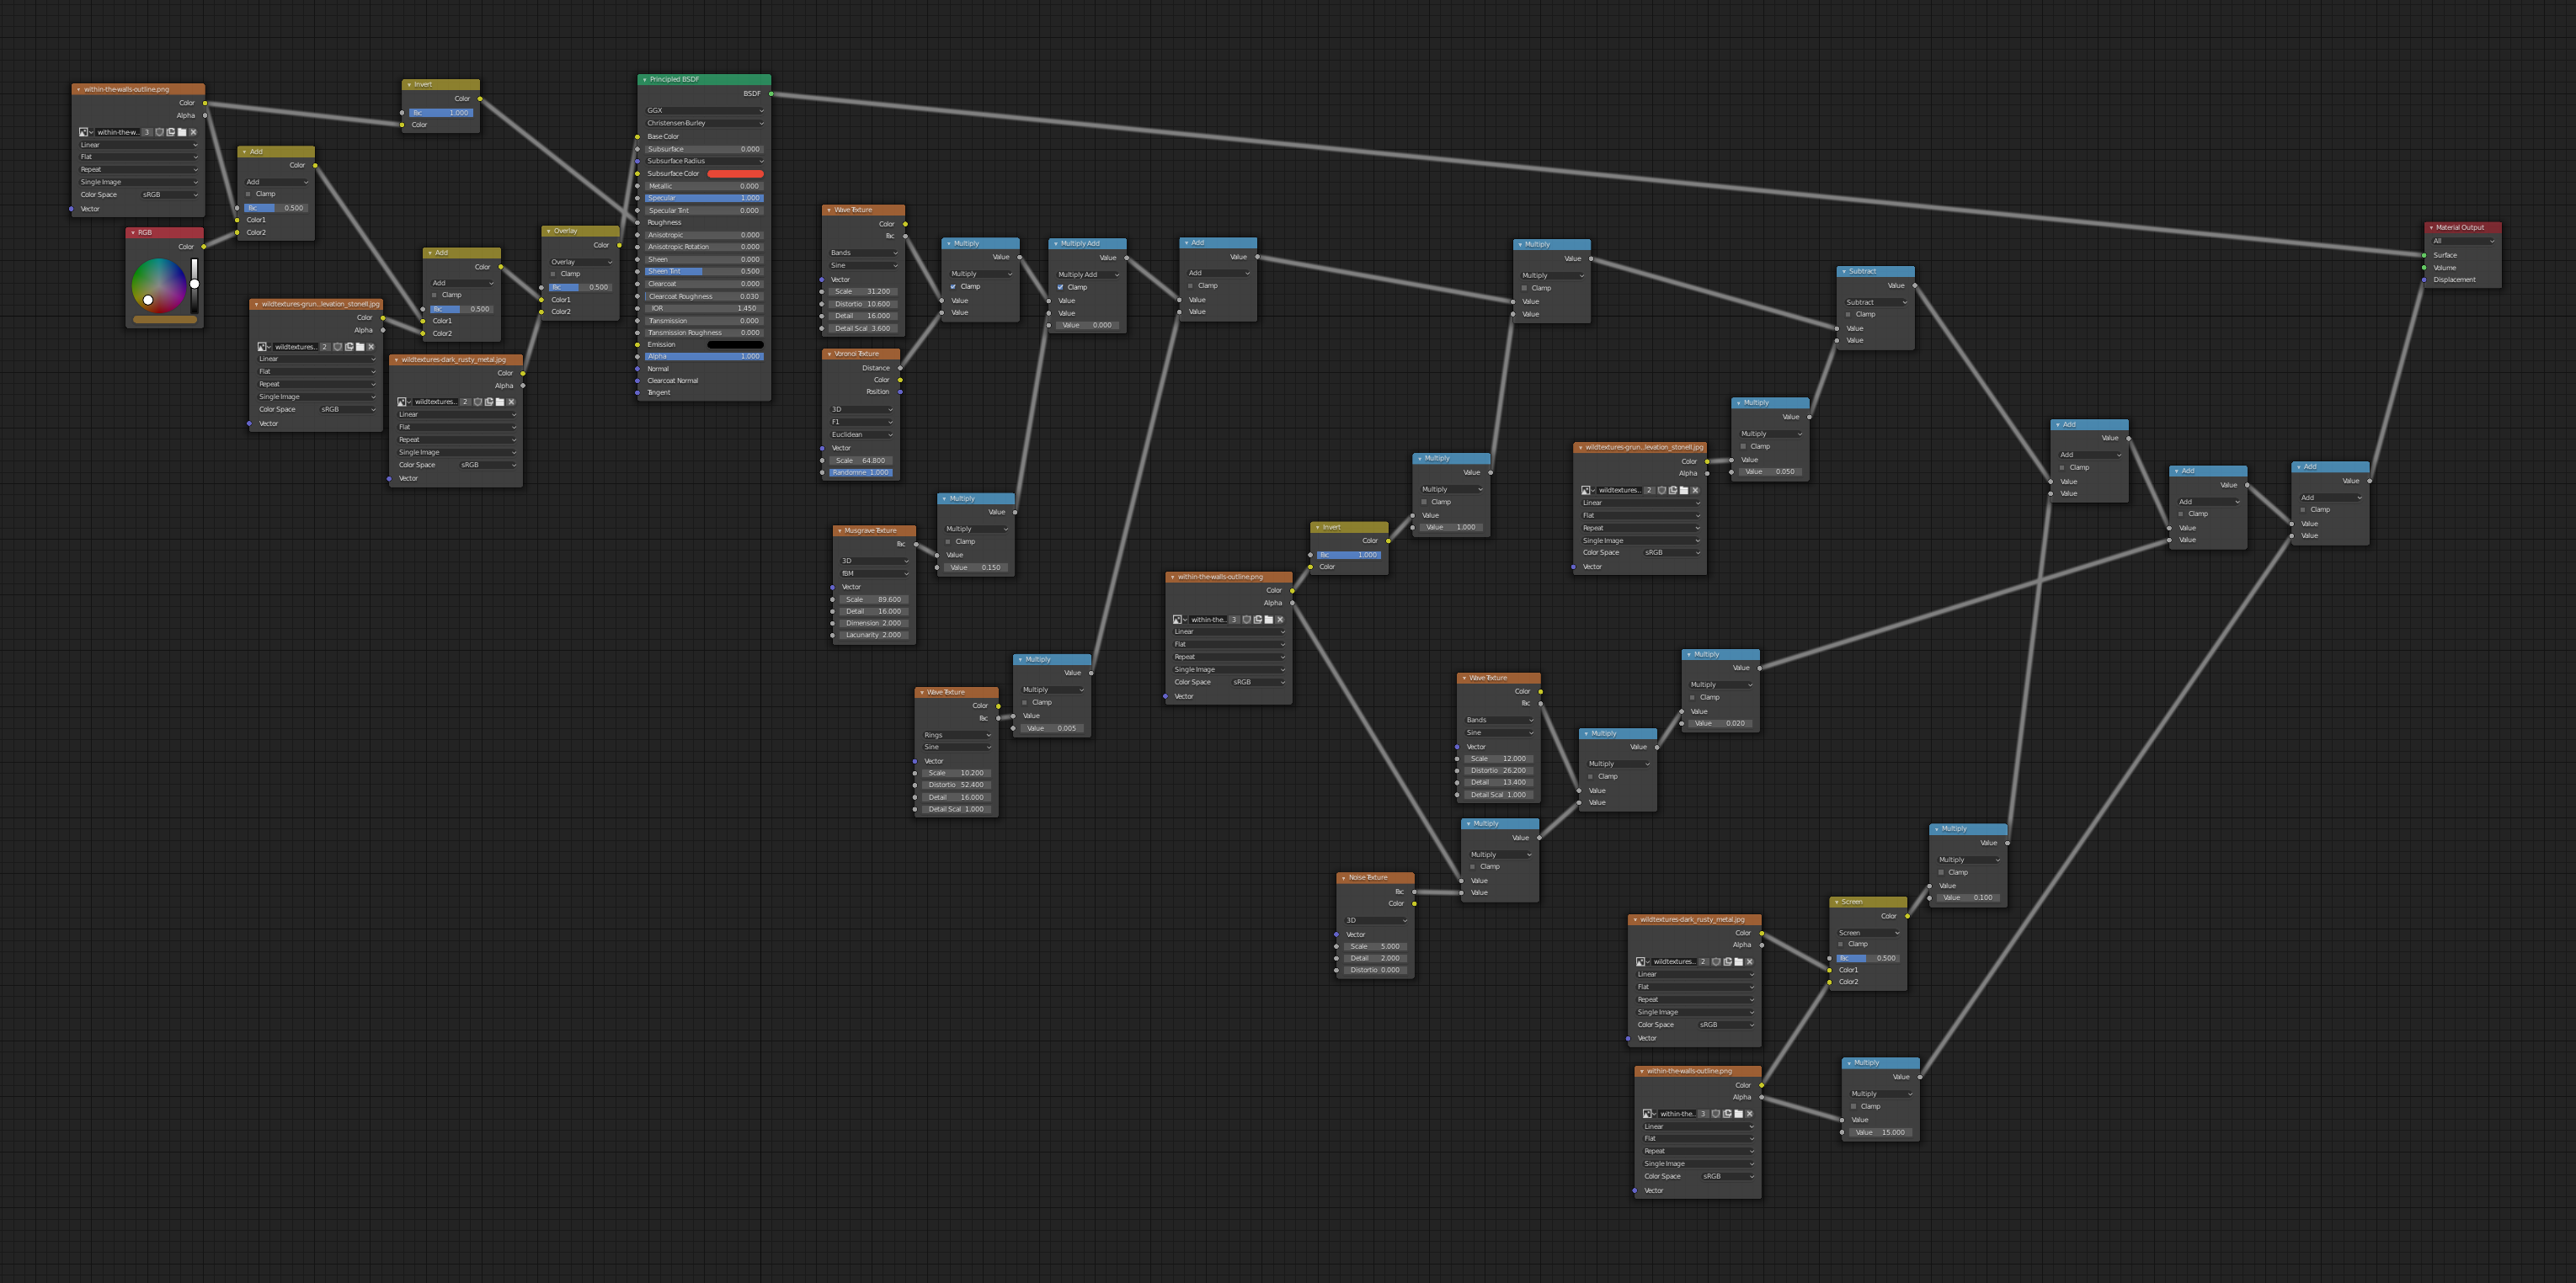
Then, in Blender, I created a plane and went to town on the shading, using a combination of procedural and image textures to mix the colors together and displace the geometry of the plane. There’s a key light and a dim fill light. And in the compositor I added a little chromatic aberration around the edges with the lens distortion filter.
Rendered it at 5200×5200, which took about two hours on my 16″ MacBook Pro. I tend to work a little smaller and then upscale to 6500×6500 (for square pieces), since Photoshop’s upscaling is fairly decent these days. After upscaling, I added my signature thingie, which I’ll add in Blender in the future so it fits in better.
Here’s the node setup on the plane (and in the future I’ll use groups to make things more manageable):
Overall, I’m happy with this technique. It’s more time-consuming than painting textures in Photoshop, but I can do other things while it’s rendering, and the result looks much better to me. Working in 3D is more fun, too. Most importantly, using Blender gives me loads of new options that would have been harder to do well with my old technique — shiny paint, glowing materials, etc.

