Daily Blender 05

“Guardian.” I’m admittedly not very good at sculpting yet. But hopefully over the course of the month I’ll get better.
“Guardian.” I’m admittedly not very good at sculpting yet. But hopefully over the course of the month I’ll get better.
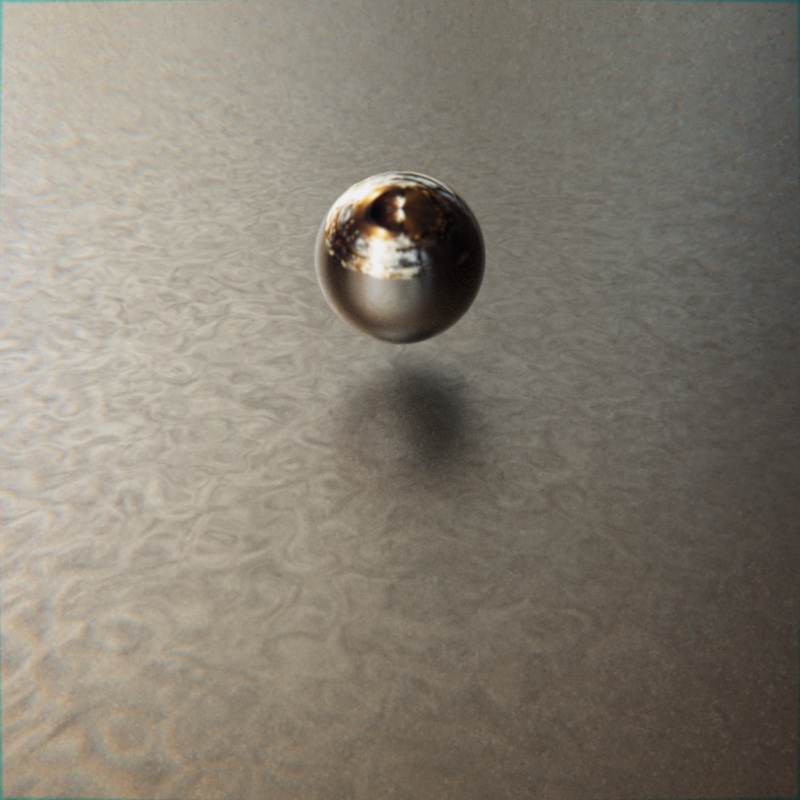
A sphere on a plane, with an environment map for lighting (using a photo I took a few years ago). On the plane, I’m using some distorted noise to mix together two glossy materials (one rougher and darker than the other).
I’m realizing I really, really like environment lighting. So, uh, there’ll probably be a lot more of that.
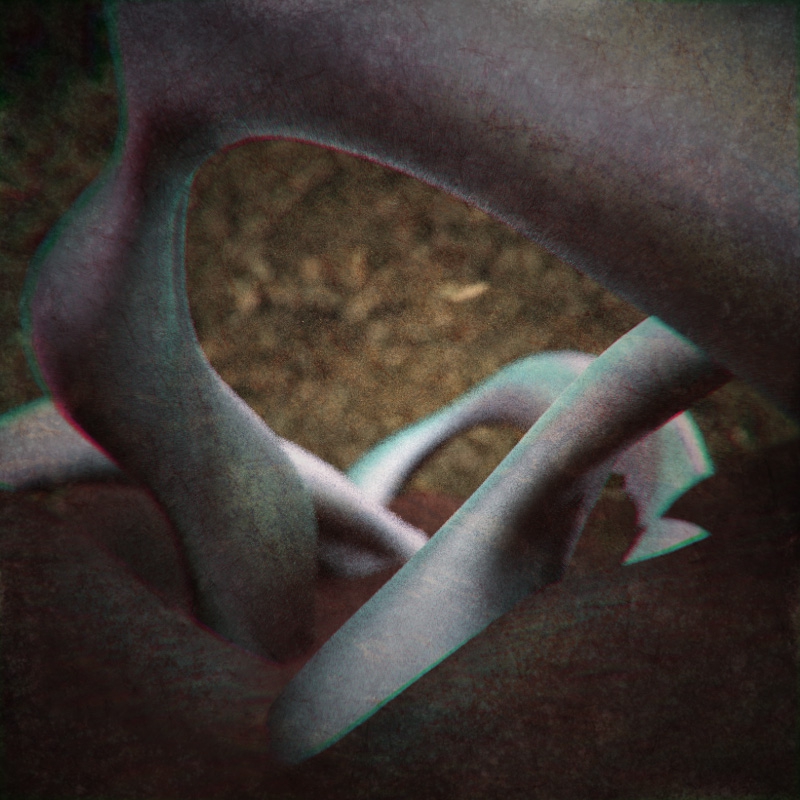
The tube-ish things are a torus knot with a displace modifier, and I made the background leaves using the Sapling addon. The ground is just a fractally subdivided plane with a subsurf modifier.
This one is a bit more heavily postprocessed than my first two, mostly because I wasn’t happy at all with the initial render. Lots of Photoshop texturing.
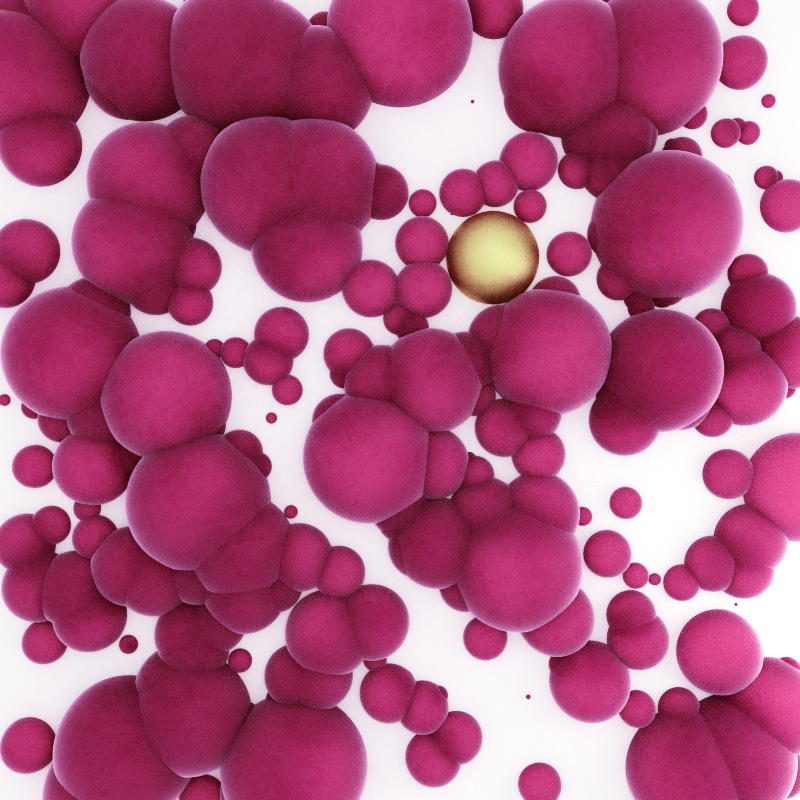
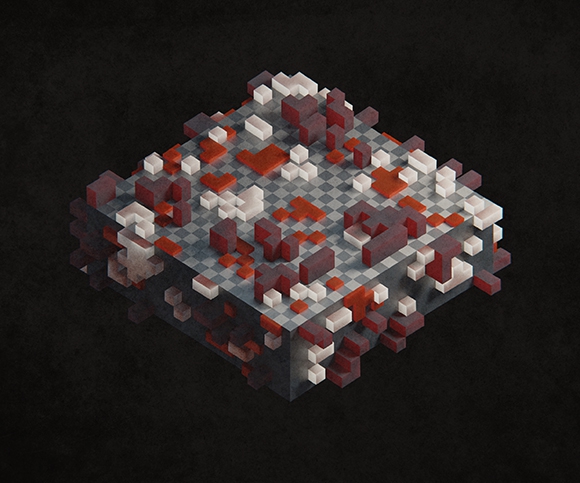
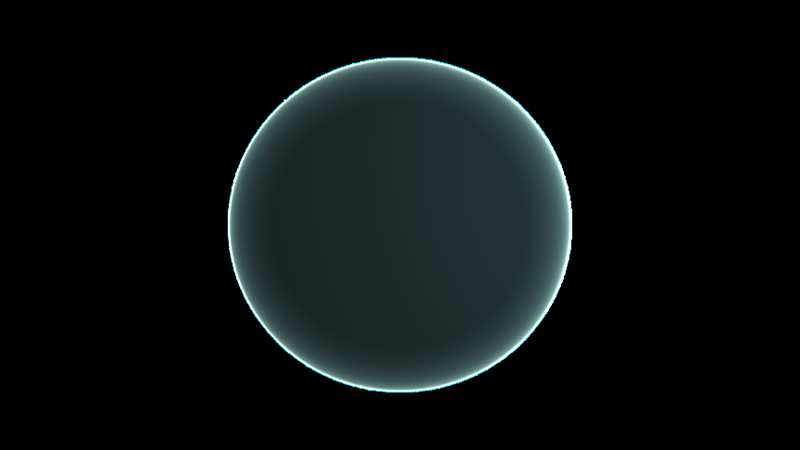
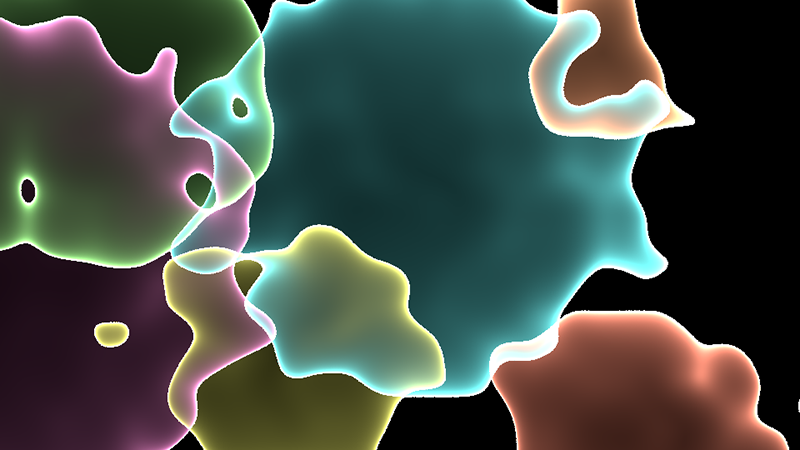
I wrote a Python script to generate the spheres (random sizes, random locations). The main sphere material is a subsurface scattering node mixed with a white diffuse material with Fresnel as the factor, so the white shows at the edges of the spheres. I also did some postprocessing (color correction, slight texturing) in Photoshop.
Inspired by Zuggamasta’s 365 day project, I’m going to be making a new Blender render each day in June (excepting Sundays). Each render will be 800x800, and many of them will be somewhat on the pathetic side. But it’ll be a good challenge for me.
Day 1:
As I’ve been tinkering around with graphics coding, I wanted to figure out how to map a sine wave onto a circle. Here’s how it went down. (Disclaimer: this is all unoptimized code that is almost certainly not the best way to do this. Also, I’m a beginner, so yes, this is very basic stuff.)
First off, I started a new Processing sketch and drew a circle:

The relevant code from the draw() function:
float x = width / 2;
float y = height / 2;
float radius = height / 3;
float angle = 0;
float angleStep = 0.005;
float twopi = PI * 2;
float dx, dy;

while (angle <= twopi) {
    dx = x + radius * cos(angle);
    dy = y + radius * sin(angle);

    angle += angleStep;

    ellipse(dx, dy, 2, 2);
}
The basic idea: I loop from 0 to 2π radians (a full circle) in steps of angleStep radians at a time. At each angle I calculate the vector from the center of the circle (x, y) to the point on the circle at a distance of radius. And then I draw a little circle at that point. With a small enough step size, you get a continuous line. (More on that later.)
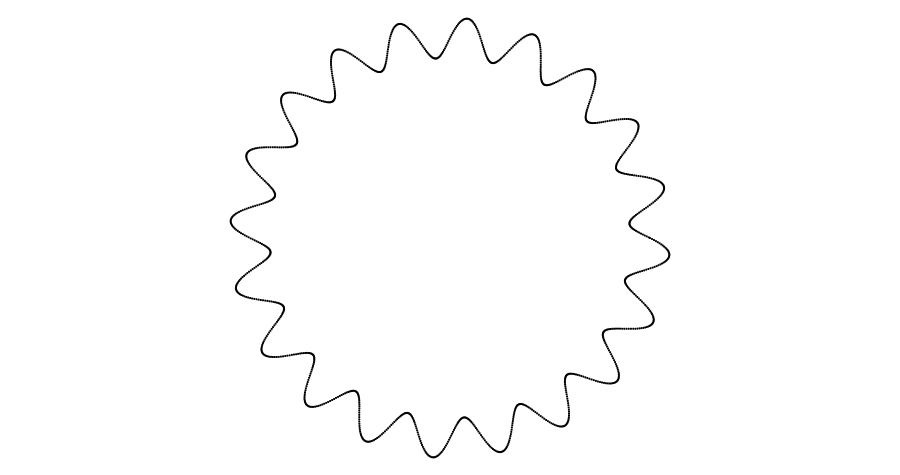
Mapping a sine wave onto said circle really just means that when you calculate the vector, you apply a sine wave to the point’s distance from the center of the circle. So I added that in, including frequency and amplitude variables I could tweak:
float freq = 20;
float amp = 20;

dx = x + (radius + sin(angle * freq) * amp) * cos(angle);
dy = y + (radius + sin(angle * freq) * amp) * sin(angle);
And I got this:
(I should add that I did this first part on my phone in Procoding. But then Procoding crashed and deleted my sketch, so I rewrote it in the actual Processing app on my laptop.)
I pulled this code out into a function so I could loop through it and create a bunch of concentric sinuous circles. I also changed the drawing method to use lines instead of ellipses, so there wouldn’t be gaps. Processing didn’t seem to want to antialias the lines, though, and I’m not sure why. Oh well.

I also saved an alternate version of the sketch that changed the colors to render out a depth map for each frame (the darker it is, the farther from the camera):

Then I animated the amplitude and rotation of each circle and rendered out all the frames, both for the blue-and-white version and for the depth map. I pulled it all into Blender and composited it together. The node setup:

fStop value is how shallow the DOF is (the lower the number, the blurrier it gets). In the camera settings I’ve keyframed the Distance value (the focal point), with a range of 0 to 1. (Ordinarily they use Blender units, but in this case we’re using our depth map and that has a range of 0 to 1.)Dispersion) and elliptical distortion (Distort plus Fit so that I don’t get black around the edges).Soft Light, then plug in some brown-colored noise I’ve painted in Photoshop.After I rendered the composited frames out to disk, I imported them into Blender’s video editor, added a crossfade to a black color strip at the end, then rendered to H.264 and uploaded to Vimeo. The final result:
The animation itself is somewhat lacking — the timing is uninspiring, the f-stop jumps around too much, etc., and I don’t think it properly conveys a sense of 3D space (of being in a tunnel) — but as a test of the Processing + Blender workflow, I’m quite pleased.
I’ve been playing around with Blender’s relatively new Open Shading Language support, and mmm, it’s powerful. I’m still bending my mind around shader construction, though — writing shaders is really different from writing graphics code the normal way. For example, here’s how you’d draw a circle in JavaScript on Canvas:
context.arc(x, y, radius, 0, 2 * Math.PI);
context.stroke();
But shaders don’t work that way. Instead, the shader program gets called for every pixel on the material, so you have to do something like this instead (using a distance field in this case, based on this GLSL code):
point pt = P;     // The point that gets passed in
float x = pt[0];  // OSL uses array indices for x,y
float y = pt[1];

// Get the distance from (0, 0) to the point we're processing and then
// subtract from the radius to get the distance from the circle to the point
float dist = radius - sqrt(x * x + y * y);

// If dist < 0, point is outside the circle
// If dist > border, point is inside the circle
// If dist <= border && dist > 0, point is on the circle
float t = 0;
if (dist > border) {
    t = 1;
} else if (dist > 0) {
    t = dist / border;
}

// Add the intensity control and make sure the value >= 0
float final = abs(intensity / t);

// Create the output color (and drop the red channel by half)
color c = color(final / 2, final, final);
Longer, definitely. But also much more powerful. Here’s what it looks like rendered:
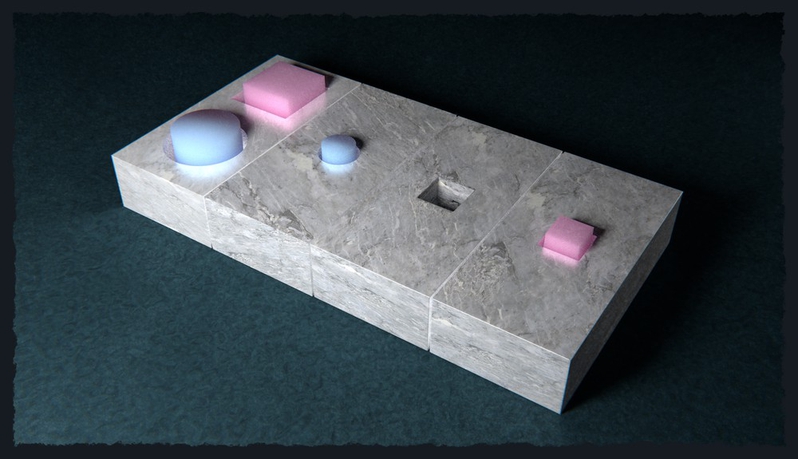
I’m not sure if doing a parametric circle like this would even be possible in Blender’s material nodes system, but with OSL it’s fairly simple (if a bit mathy) and very customizable. Add some more circles, a noise function on the distance field, and a little postprocessing and you get this:
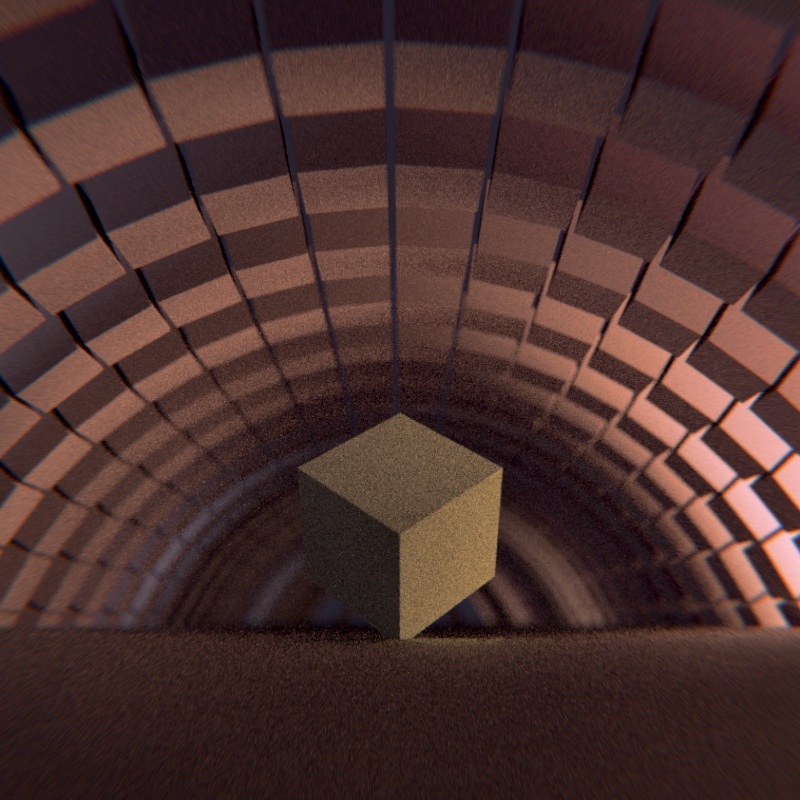
Another example, where the OSL shader is on the box in the middle:

The shader looks at the x coordinate, and if it’s to the left of the divider (with a sine wave applied), it gets the blue material, and if it’s to the right, it gets the metallic material. It also adds the yellow band. Everything is exposed to the node system through parameters (inputs to the shader), so it’s easy to change values to get different looks:
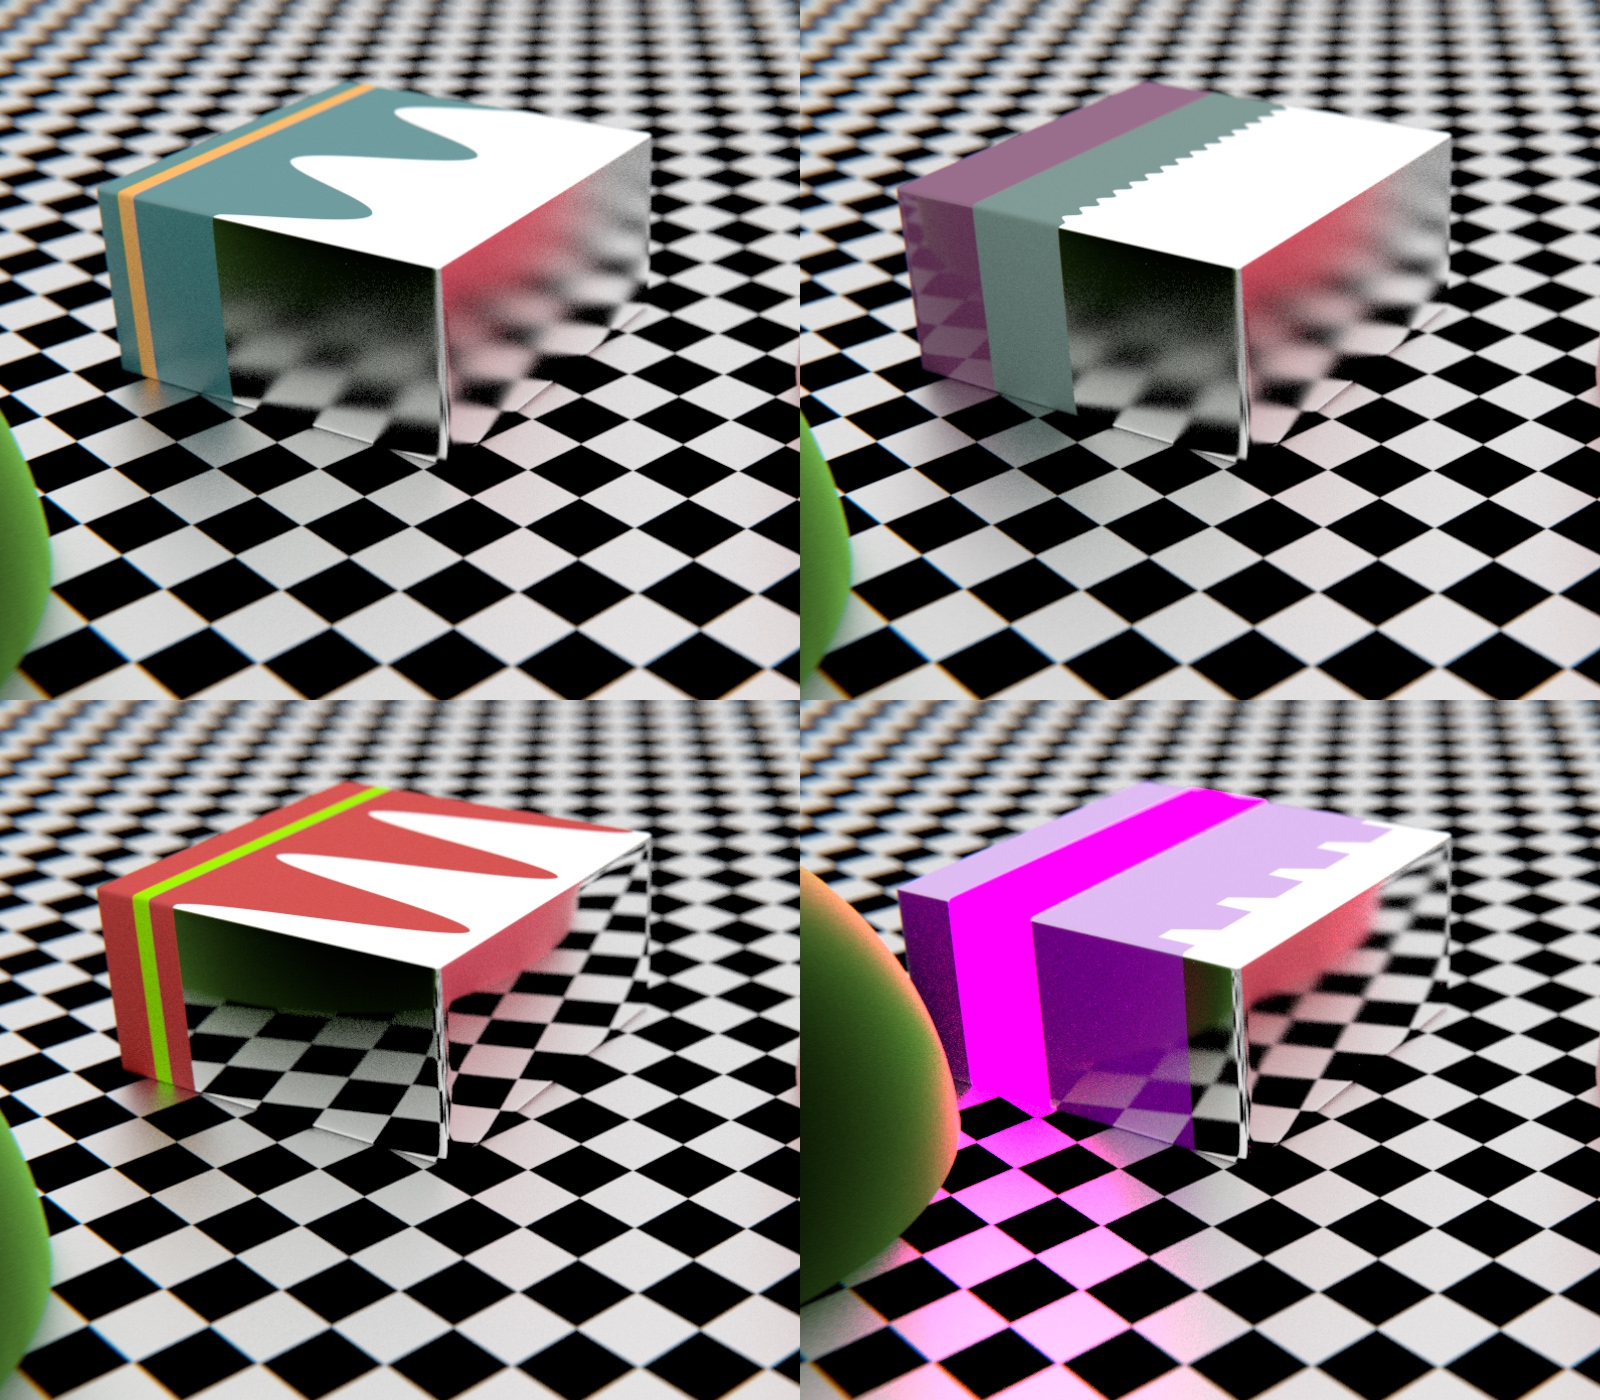
(The lower right one is a bit more of a tweak, changing the band to emit light and using a clamped abs/mod combo instead of a sine wave.)
This is all just scratching the very top layer of the surface, of course. Now I just need to brush up on my math…
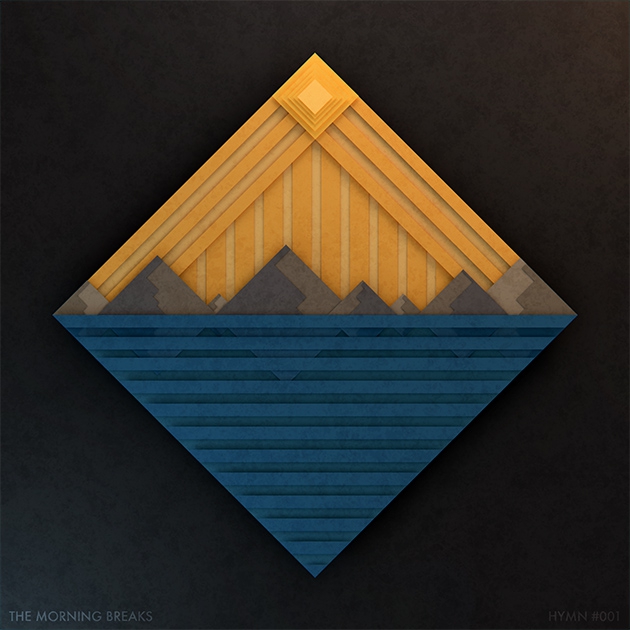
For a while I’ve wanted to do a series of pieces based on the LDS hymns, because it’s been a long while since my circle series. I’ve also been itching to do some illustrations in Blender with a sort of paper cutout aesthetic.
I ended up deciding to combine them into a single series. The first piece: