Sine circle test animation
As I’ve been tinkering around with graphics coding, I wanted to figure out how to map a sine wave onto a circle. Here’s how it went down. (Disclaimer: this is all unoptimized code that is almost certainly not the best way to do this. Also, I’m a beginner, so yes, this is very basic stuff.)
First off, I started a new Processing sketch and drew a circle:
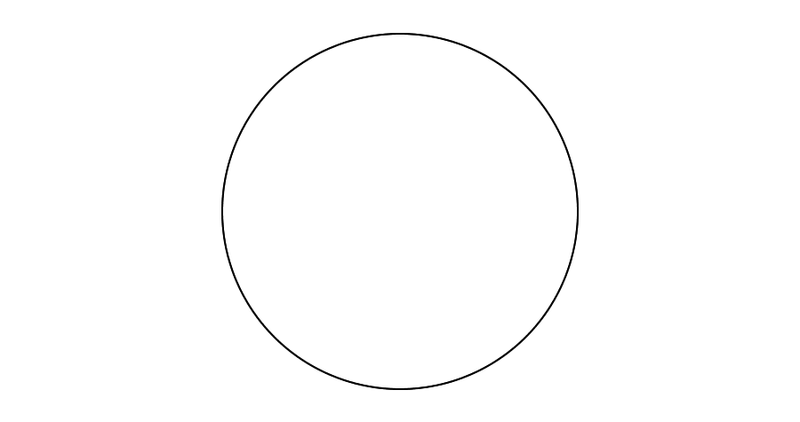
The relevant code from the draw() function:
float x = width / 2;
float y = height / 2;
float radius = height / 3;
float angle = 0;
float angleStep = 0.005;
float twopi = PI * 2;
float dx, dy;

while (angle <= twopi) {
    dx = x + radius * cos(angle);
    dy = y + radius * sin(angle);

    angle += angleStep;

    ellipse(dx, dy, 2, 2);
}
The basic idea: I loop from 0 to 2π radians (a full circle) in steps of angleStep radians at a time. At each angle I calculate the vector from the center of the circle (x, y) to the point on the circle at a distance of radius. And then I draw a little circle at that point. With a small enough step size, you get a continuous line. (More on that later.)
Mapping a sine wave onto said circle really just means that when you calculate the vector, you apply a sine wave to the point’s distance from the center of the circle. So I added that in, including frequency and amplitude variables I could tweak:
float freq = 20;
float amp = 20;

dx = x + (radius + sin(angle * freq) * amp) * cos(angle);
dy = y + (radius + sin(angle * freq) * amp) * sin(angle);
And I got this:
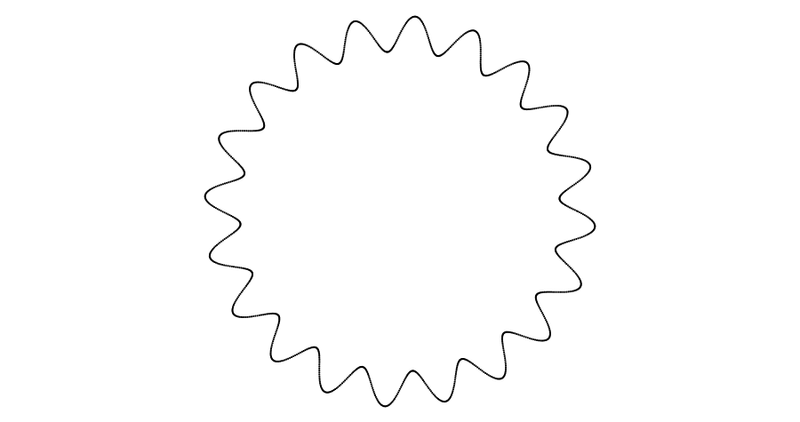
(I should add that I did this first part on my phone in Procoding. But then Procoding crashed and deleted my sketch, so I rewrote it in the actual Processing app on my laptop.)
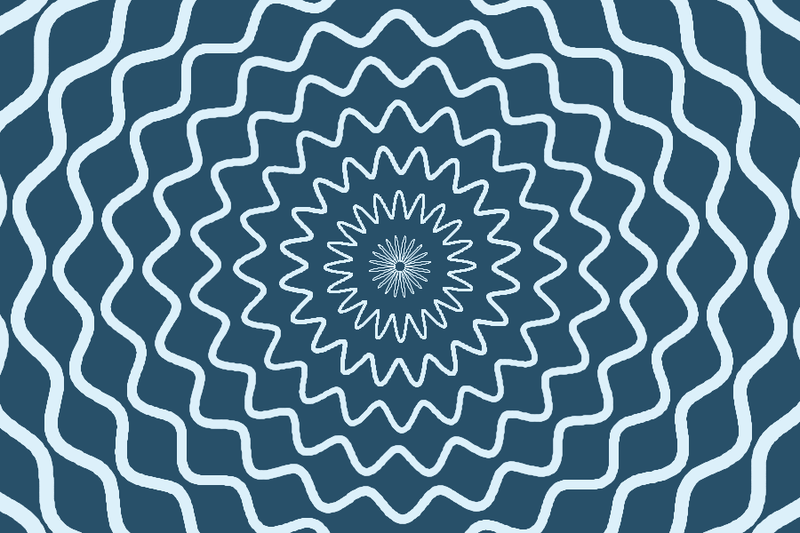
I pulled this code out into a function so I could loop through it and create a bunch of concentric sinuous circles. I also changed the drawing method to use lines instead of ellipses, so there wouldn’t be gaps. Processing didn’t seem to want to antialias the lines, though, and I’m not sure why. Oh well.
I also saved an alternate version of the sketch that changed the colors to render out a depth map for each frame (the darker it is, the farther from the camera):
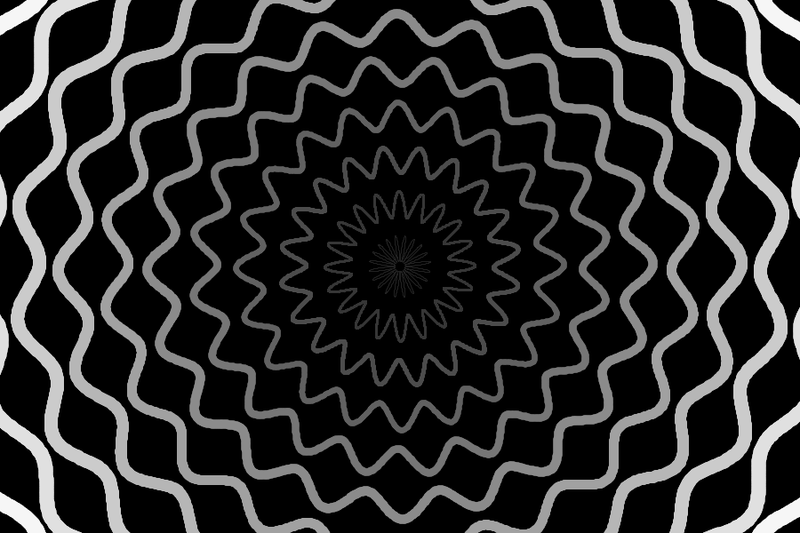
Then I animated the amplitude and rotation of each circle and rendered out all the frames, both for the blue-and-white version and for the depth map. I pulled it all into Blender and composited it together. The node setup:
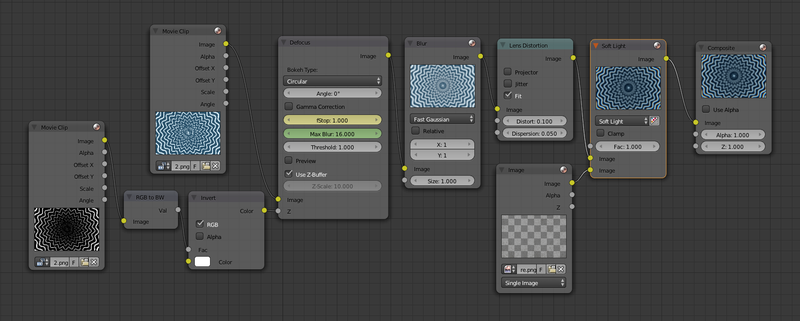
- I take the depth map and convert it from RGB to black and white (meaning values from 0 to 1, where black is 0 and white is 1).
- Then I invert the depth map so white is 0 and black is 1, because I’m going to use it as a distance map, where white is close to the camera (a distance of 0 from the camera) and black is far from the camera (a distance of 1).
- I plug both the rendered frames and my inverted depth map into the defocus node, which gives me depth of field. (It’s postprocessed, so it’s not ideal, but I don’t think there’s a way around that.) The
fStopvalue is how shallow the DOF is (the lower the number, the blurrier it gets). In the camera settings I’ve keyframed theDistancevalue (the focal point), with a range of 0 to 1. (Ordinarily they use Blender units, but in this case we’re using our depth map and that has a range of 0 to 1.) - I do a fast Gaussian blur to try to make up for the lack of antialiasing. It doesn’t work as well as I’d like.
- Then I add a lens distortion with some chromatic aberration (
Dispersion) and elliptical distortion (DistortplusFitso that I don’t get black around the edges). - Finally, I add a Mix node and change it to
Soft Light, then plug in some brown-colored noise I’ve painted in Photoshop.
After I rendered the composited frames out to disk, I imported them into Blender’s video editor, added a crossfade to a black color strip at the end, then rendered to H.264 and uploaded to Vimeo. The final result:
The animation itself is somewhat lacking — the timing is uninspiring, the f-stop jumps around too much, etc., and I don’t think it properly conveys a sense of 3D space (of being in a tunnel) — but as a test of the Processing + Blender workflow, I’m quite pleased.