Introduction
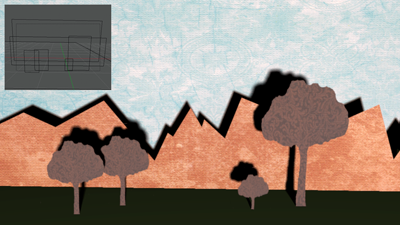
Here’s how to make a transparent texture actually be transparent — handy for paper cutouts, puppets, and much more. We’re assuming you’ve already prepared your texture images. PNG is a good format.

Step 1
Create a plane for your object. In Material, add a new material and click the checkbox for the Transparency group. Set Alpha (under Transparency) to 0.000. You probably also want to turn off specular highlights for the texture. Just sayin’.

Step 2
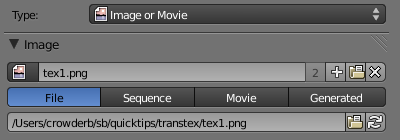
In Texture, add a new texture. Under Type, choose Image or Movie. Go down to the Image group and click on the Open button. Load your image.

Step 3
In Texture->Image, check the Premultiply and Color Unpremultiply boxes. This smooths the edges and gets rid of the ugly white jaggies.The image says “Anti-alias” because that’s what “Color Unpremultiply” used to be called. I need to fix it.

Step 4
In Texture->Image Mapping, change the Extension setting to Clip instead of Repeat. Unless you want your texture to repeat, that is.

Step 6
If your newly transparent object is casting shadows on any other objects, those objects will need to have the Receive Transparent setting on. It’s in Material->Shadow.
The End.
Further Reading
- Use Alpha for Object Transparency (Blender 2.4x docs)
- Transparent Textures (Blender 3D Club)
- Using a texture to make a material partially transparent (Noob to Pro)
